
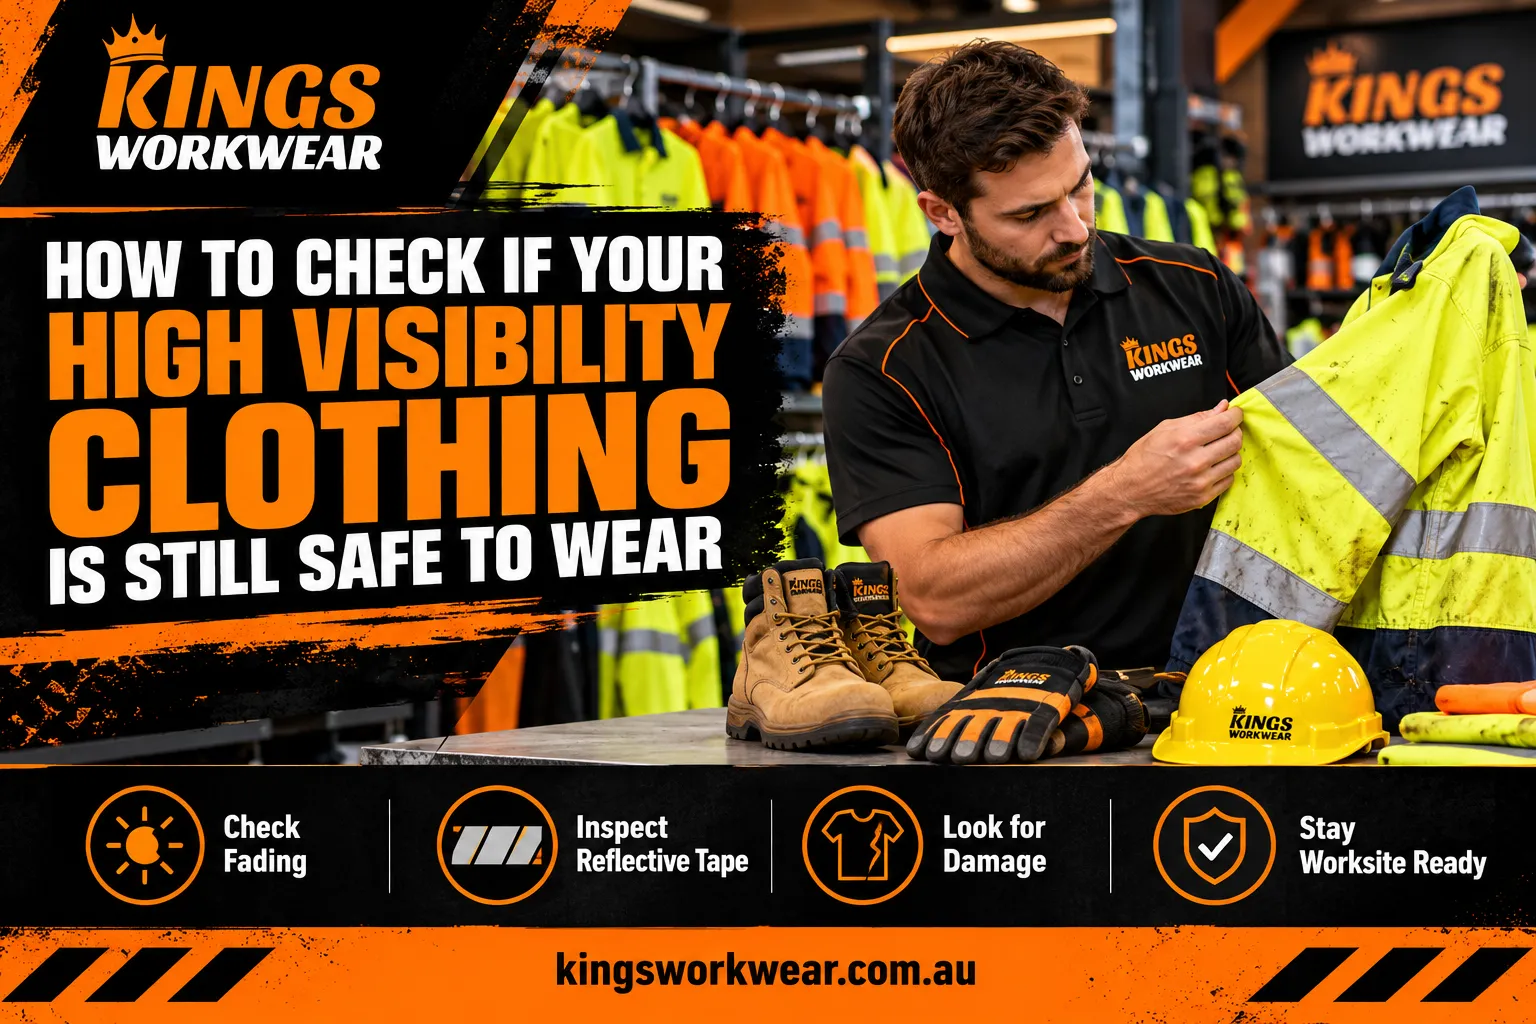
A hi vis shirt can look fine from across the yard and still be letting you down. Months of Perth sun, weekly washes and the odd brush with a pallet slowly dull the fluoro and wear the reflective tape, and nobody notices until someone asks why the night crew is hard to see. Knowing what to look for keeps your high visibility clothing doing its job.
Quick answer: check four things before each shift: the fluoro colour, the reflective tape, the fabric and seams, and any stains covering visible areas. Then confirm the garment’s class still suits the day’s work. Retire anything badly faded, torn through a visible panel, permanently stained, past the maker’s wash limit, or with tape that has cracked or lifted.
1. Check the Fluoro Colour in Daylight
UV, hot washes and sweat all fade fluoro fabric over time. Hold the garment up in natural light and look for dull patches, uneven colour, or washed-out shoulders and sleeves, which usually go first.
The easiest test is to compare it with a new garment of the same style. A clear difference is a warning sign, though a side-by-side look isn’t a lab test. If you’re unsure whether it still meets the requirement, take it out of service until someone competent checks it.
2. Inspect Every Strip of Reflective Tape
Reflective tape is what makes you visible under headlights and site lighting, so it matters most for night and low-light work. Run your fingers along every strip and look for:
-
Cracks or crazing across the surface
-
Edges lifting away from the fabric
-
Missing sections or heavy scuffing
-
Paint, grease or grime sitting on top
Some workers shine a torch on the tape to spot dead areas. That’s handy for finding obvious damage, but it isn’t proof of performance. Bright fluoro doesn’t make up for damaged tape if your role needs night visibility.
3. Look for Tears, Holes and Failed Seams
Hi vis work clothes like pants and overalls cop the most punishment at the knees, seat and pocket corners. Check those spots, along with cuffs, hems, zips and buttons.
A small snag on a hem is cosmetic. A tear through a fluoro panel or beside the tape is not. Resist the urge to patch it or stick on hardware-store reflective tape, because ordinary repairs can mean the garment no longer meets its rating.
4. Deal With Grease, Paint and Stains
Dirt on fluoro fabric or tape reduces how well you’re seen. Wash the garment as the label directs, then check again. If large stains won’t shift, or anything permanently covers the tape, replace it.
Clothing exposed to hazardous chemicals is a different matter. Follow your workplace’s decontamination procedure instead of taking it home for an ordinary wash.
5. Follow the Care Label Every Time
The laundry is where a lot of hi vis is quietly ruined. Many care labels advise cooler washes, no bleach or fabric softener, turning the garment inside out, and keeping tumble dryers and irons away from the tape.
Some manufacturers also state a maximum number of wash cycles. If your business uses an industrial laundry, track the count. Once a garment reaches that limit, replace it even if it still looks decent.
6. Make Sure It Still Suits the Job
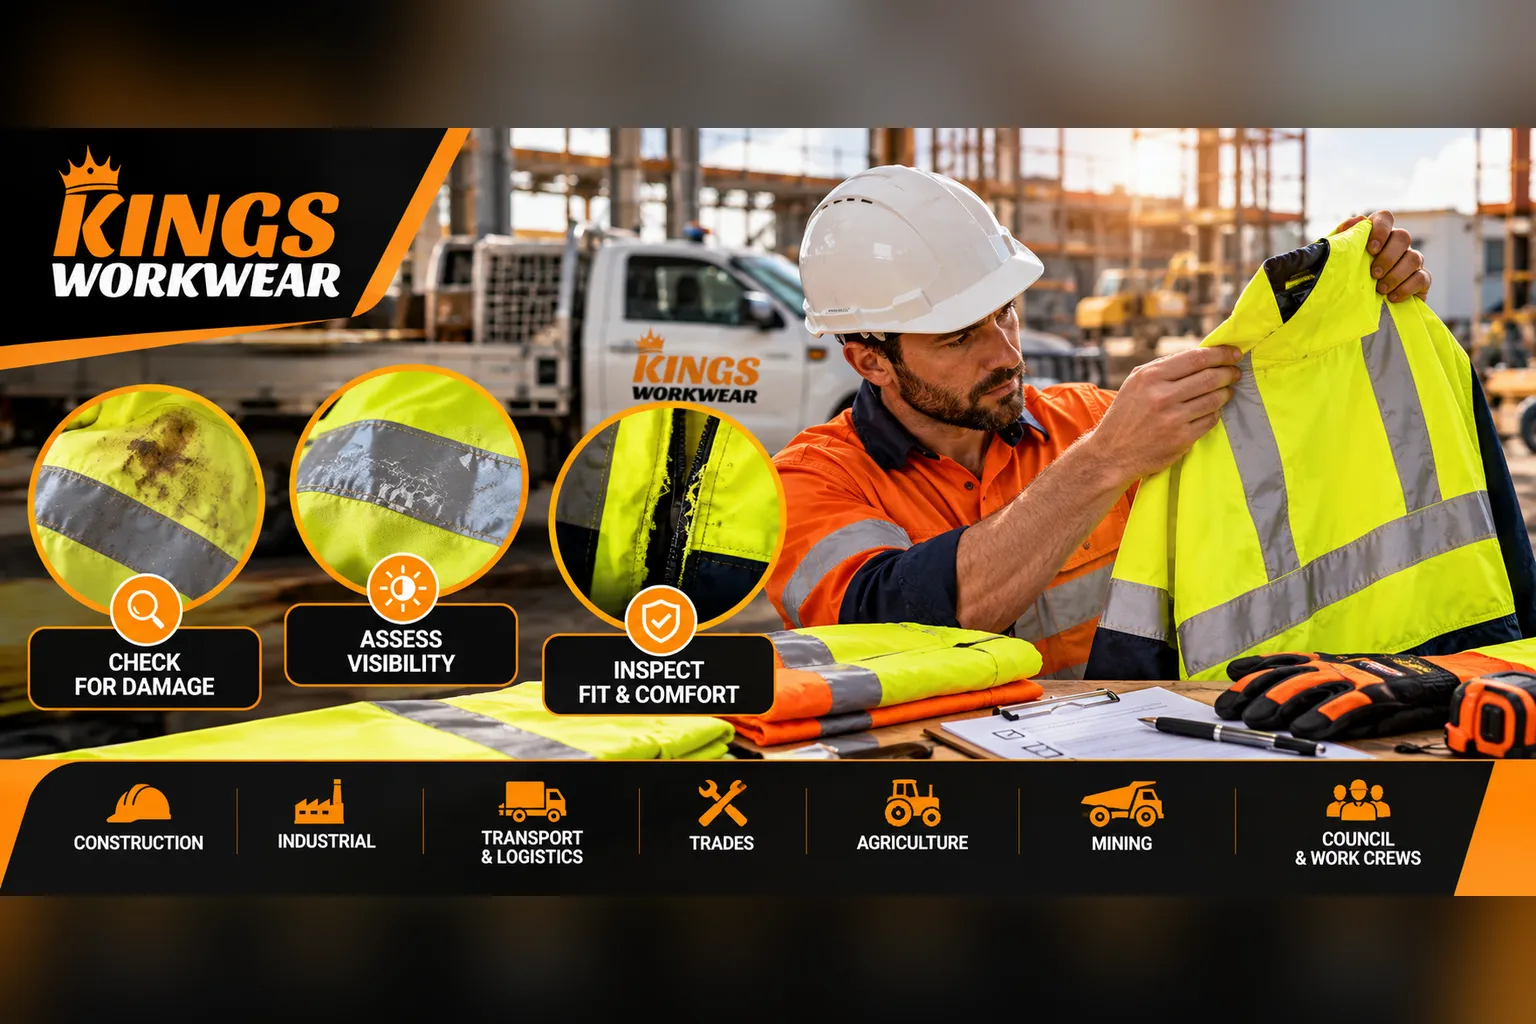
Gear in perfect condition can still be wrong for the work. If someone moves to night shifts or roadside jobs, a day-only Class D shirt may need swapping for Class D/N under AS/NZS 4602.1. Check the fit too, because shrunk or stretched garments can ride up, gape or end up hidden under other layers.
Repair or Replace?
Minor, non-critical repairs, such as a loose seam well away from the visible panels, can be fine if the manufacturer allows them. Anything affecting the fluoro fabric or tape is usually a replacement job. Keep spare hi vis workwear, such as taped vests, on hand so damaged gear can be swapped the same day rather than worn “just for this week”.
Replacing Worn Gear
When it’s time to replace, Kings Workwear’s Southern River store and website carry hi vis polos, work shirts, jackets, hoodies, overalls, pants and vests, both taped and untaped, in men’s and women’s cuts. Match the class on each label to what your site specifies.
Frequently Asked Questions
How do I know if my hi vis is still safe to wear?
Check the fluoro colour, reflective tape, seams and stains before each shift, and make sure the garment’s class suits your work. If the fluoro looks dull, the tape has cracked or lifted, or a visible panel is torn, stop wearing it and get it replaced.
Can faded hi vis work clothes still be worn?
Not if the fading is significant. Faded fluoro is harder to see in daylight and may no longer meet the garment’s rating. Compare it with a new item of the same style, and if there’s a clear difference, take it out of service.
Does reflective tape wear out?
Yes. Washing, abrasion, heat and contamination gradually crack, peel and dull reflective tape. Some manufacturers list a maximum number of wash cycles on the care label. Damaged tape cuts night-time visibility even when the fluoro fabric still looks bright.
Can you repair hi vis clothing?
Only minor, non-critical repairs, and only if the manufacturer allows it. Patching fluoro panels or adding ordinary reflective tape can mean the garment no longer meets its standard. If the visible materials are damaged, replacement is the safer option.
Does hi vis clothing expire?
There’s no universal expiry date. Hi vis lasts until it’s faded, damaged, permanently stained or past the manufacturer’s stated wash or service limit, whichever comes first. Regular checks tell you when that point has arrived.
How should you wash hi vis workwear?
Follow the care label. Many labels recommend a cooler wash, no bleach or fabric softener, turning the garment inside out and line drying. Keep irons and tumble dryers away from the reflective tape unless the label says otherwise.
Final Word
Hi vis only protects you while it can still be seen. Make the quick check part of every pre-start, wash it the way the label says, and replace gear as soon as it fails. That habit costs far less than a near miss.
